Creating the Simulator Connector
You can create a Simulator connector on your own computer and have it send data just like a connector would over the internet. Connecting the Simulator will give you data that you can play with and will validate that the connectivity exists for Gateways and Connectors on premise. The connector will also validate that you can connect to and send data to ThinkIQ.
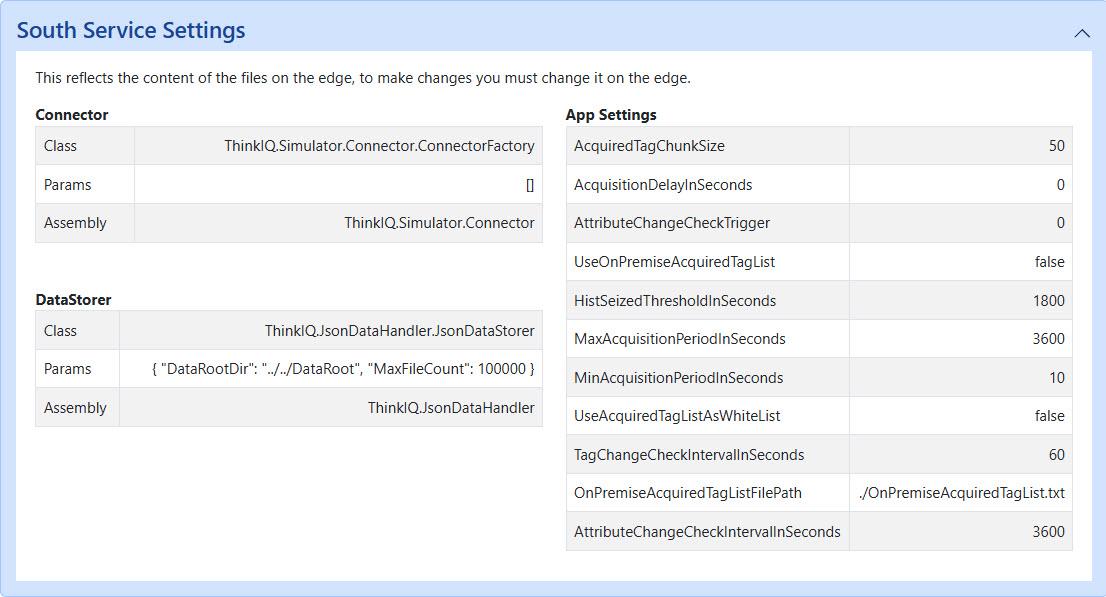
To install a Simulator connector, follow the Common Steps for creating a gateway and connector and choose Simulator as the connector type. Once the connector is installed, return to your platform and refresh the new connector page. You should very quickly see that the connector is Activated. Use the dropdown on the South Service Settings to review information about the connector and specifically the connector's App Settings. These settings control the data acquisition process. You can learn more about these settings here.
Simulator Tags
When a connector is created, there is a conversation between the connector and the data source that allows to the connector to browse the server and import a tag list. The way this works is different for each connector type. The result is a list of tags that you can access on the Tags tab of the connector page. These tags are potential data sources: until a tag is mapped to an attribute or manually switched to Historized, no data is collected.
In the case of the Simulator, around 168 tags are returned. Included in that list are a set of default tags on all connectors that are used by the Monitor Service to keep tabs on how the connector is behaving. These tags all begin with ThinkIQ, and they are historized by default. You can see these tags by filtering on them in the tag list: simply put 'ThinkIQ' in the Display Name column field and press enter. Hover over the text in the Description column to see a full description of the tag. See the full description of these tags here.
